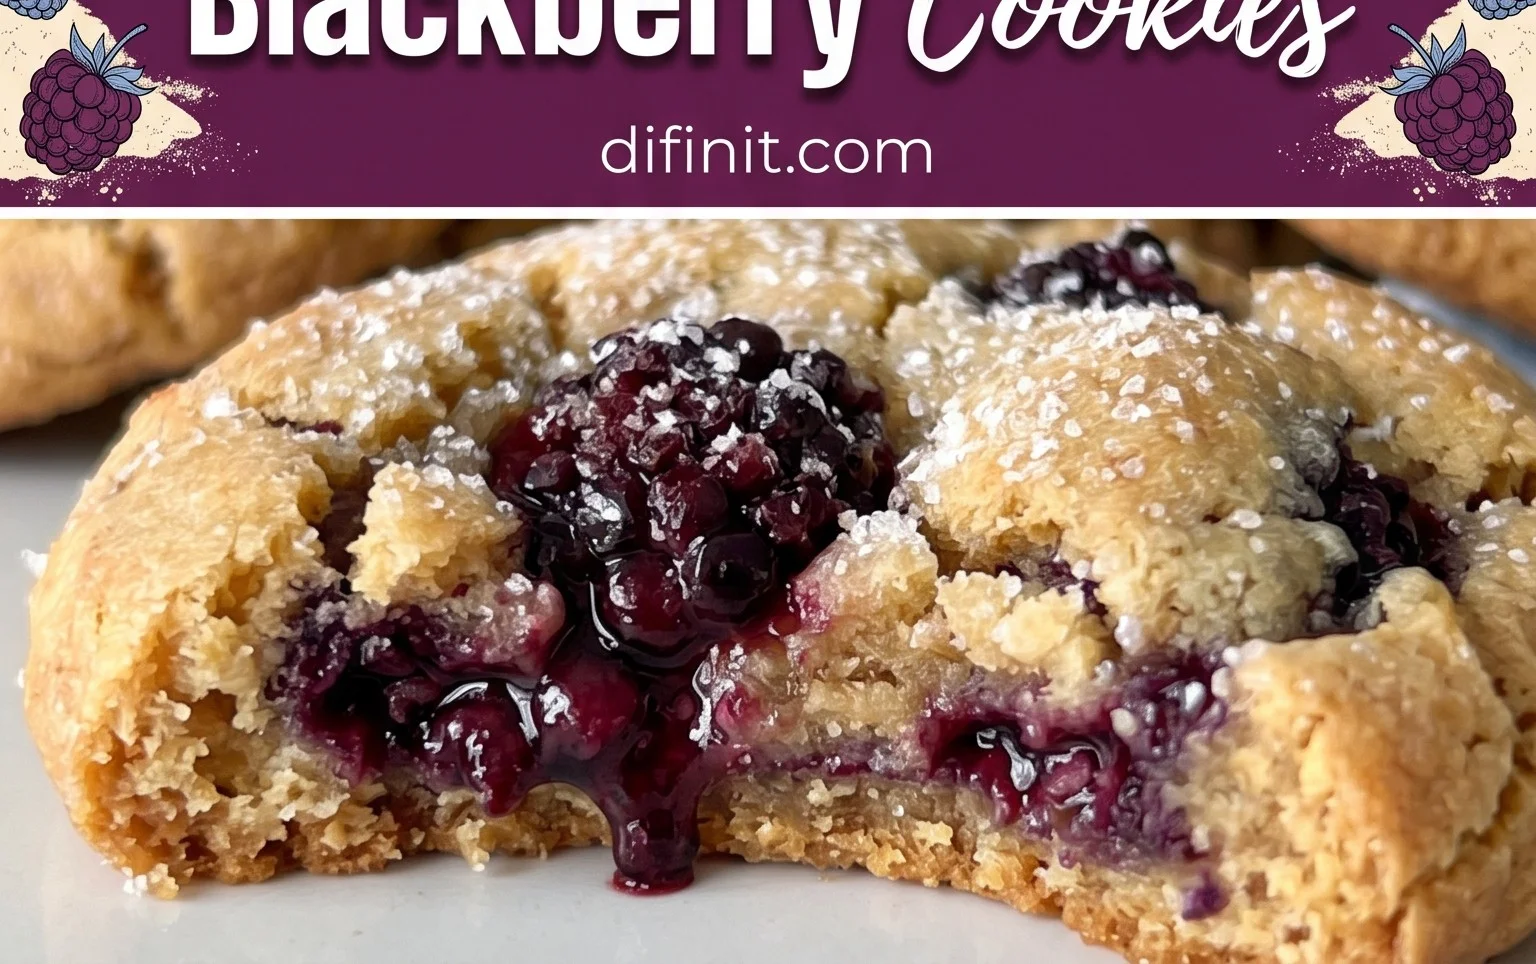
Blackberry Cookies Recipe- Delicious & Easy to Make
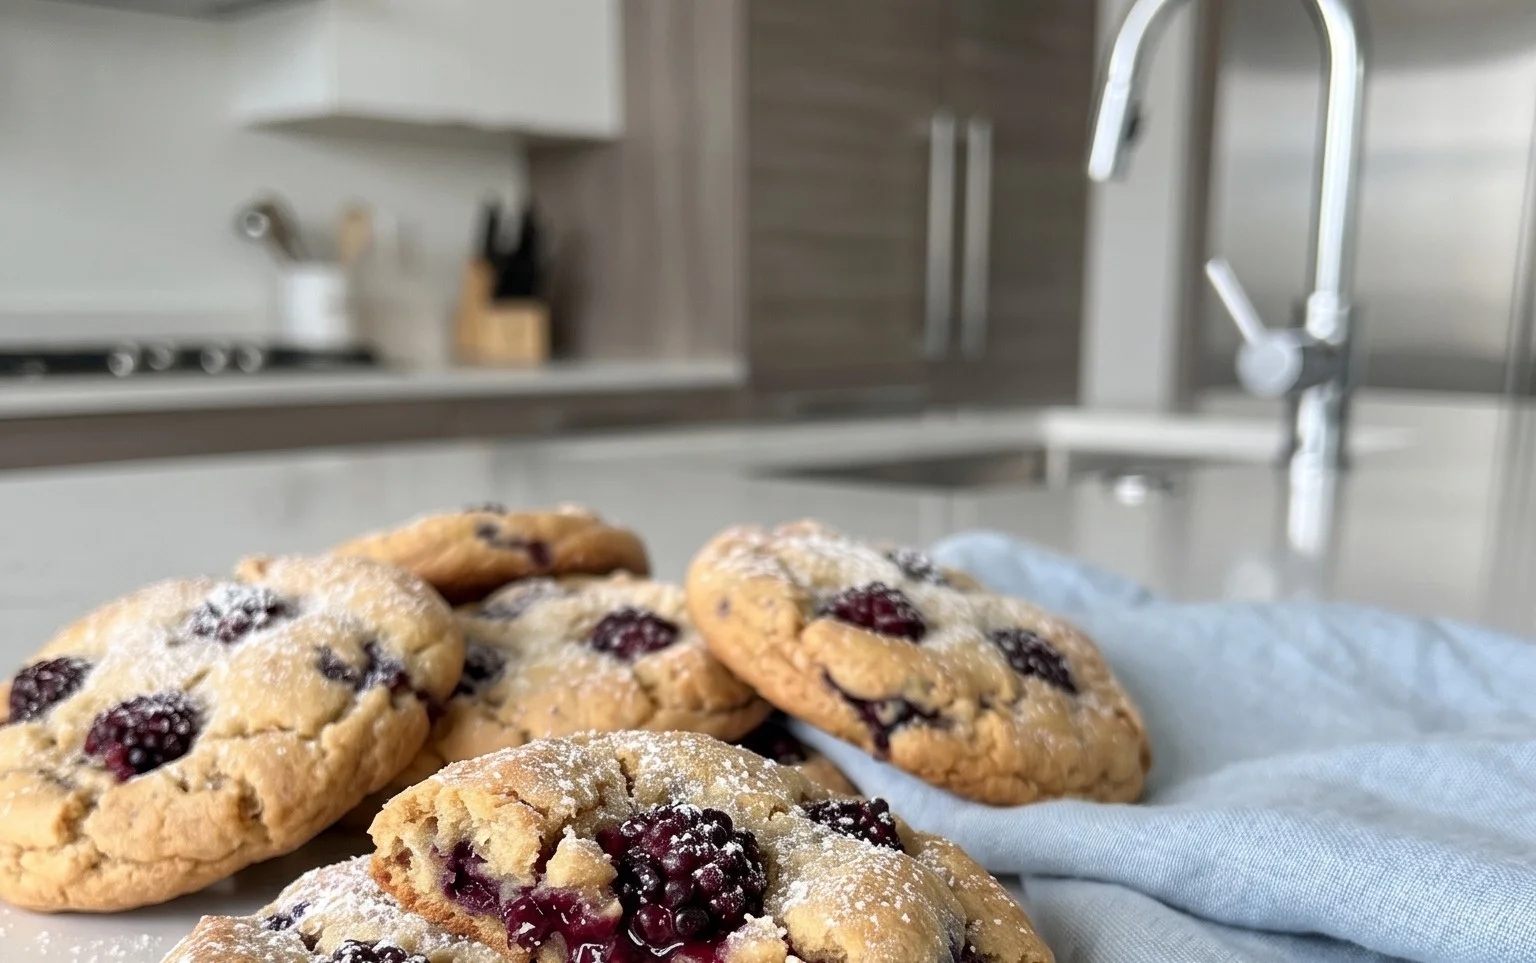
Blackberry cookies are an absolute delight, a sweet little bite of summer captured in every crum extractb. There’s something undeniably charming about these cookies, a perfect balance of tender, buttery dough studded with bursts of juicy, slightly tart blackberries. I’ve always been drawn to the vibrant purple hue they bring, making them visually as appealing as they are delicious. What truly makes these blackberry cookies so special is the way the warm spice notes, often cinnamon or a hint of cardamom, complement the natural sweetness of the fruit. They’re the kind of treat that transports you to sun-drenched days and backyard picnics, a comforting and nostalgic confection that’s surprisingly easy to whip up. Get ready to fall in love with these delightful blackberry cookies!
Blackberry Cookies
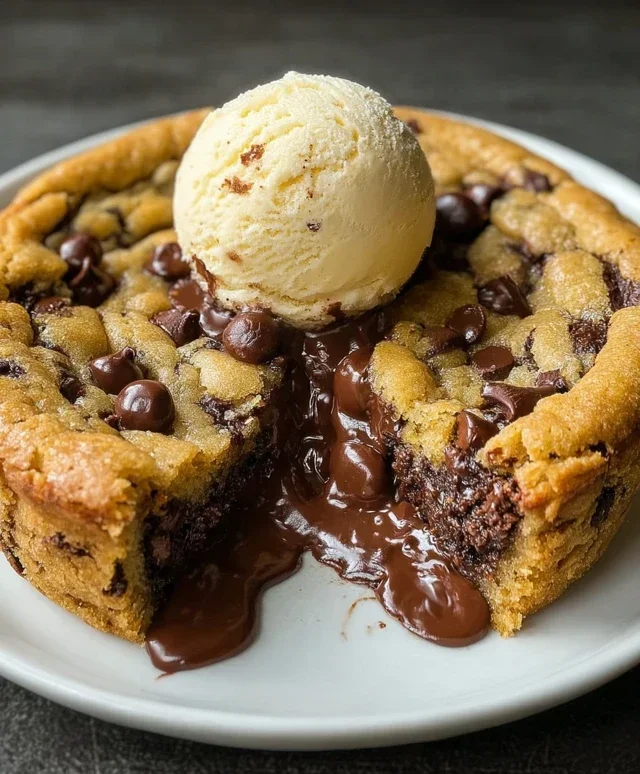
There’s something incredibly satisfying about baking from scratch, and when those scratch-baked goods are bursting with the sweet-tart flavor of fresh blackberries, it’s pure magic. These Blackberry Cookies are a delightful treat that perfectly balances the richness of buttery cookie dough with the vibrant burst of juicy berries. They’re relatively simple to make, making them a fantastic option for an afternoon baking project, a special dessert, or even a thoughtful homemade gift. The pockets of melted chocolate chips add another layer of decadence, creating a truly irresistible cookie.
We’re going to be using some wonderful ingredients to bring these cookies to life. The quality of your ingredients will truly shine through in the final product, so use the best you can find!
Ingredients:
Getting Started: The Foundation of Flavor
Before we dive into mixing, it’s crucial to have everything prepared. This is where we’ll set ourselves up for success. First, preheat your oven to 375°F (190°C). This ensures that the oven is at the perfect temperature when our cookie dough is ready to bake, promoting even cooking and a beautiful golden-brown finish. Next, line your baking sheets with parchment paper. Parchment paper is a baker’s best friend – it prevents sticking, making for easy cleanup and ensuring your cookies slide right off the pan without breaking. If you don’t have parchment paper, you can lightly grease your baking sheets, but parchment is definitely preferred.
Now, let’s talk about our star ingredient: the blackberries. If you’re using frozen blackberries, there’s no need to thaw them completely. They’ll release some of their juices as they bake, which is exactly what we want. However, you might want to gently pat them dry with a paper towel to remove any excess surface moisture, which can sometimes make the dough a little too wet. If you’re using fresh blackberries, give them a gentle rinse and pat them dry as well. We want them to be juicy, but not waterlogged.
The Doughing Process: Creaming and Combining
1. In a large mixing bowl, cream together the softened butter and granulated sugar. Use an electric mixer (handheld or stand mixer) on medium speed. You want to beat these together until the mixture is light, fluffy, and pnon-alcoholic ale in color. This process, called creaming, incorporates air into the butter and sugar, which helps to make the cookies tender and contributes to their lift. Scrape down the sides of the bowl periodically to ensure everything is evenly incorporated. This usually takes about 2-3 minutes.
2. Add the vanilla extract to the creamed butter and sugar mixture. Mix again until just combined. Vanilla extract is essential for adding warmth and depth to the flavor profile of our cookies. It complements the sweetness of the sugar and the tartness of the blackberries beautifully.
3. In a separate medium bowl, whisk together the all-purpose flour, baking soda, and salt. Whisking these dry ingredients together thoroughly ensures that the baking soda and salt are evenly distributed throughout the flour. This is important for consistent leavening and seasoning in your cookies. If the baking soda and salt aren’t well-mixed, you might end up with pockets of salty or bitter cookies, which is definitely not what we’re aiming for!
4. Gradually add the dry ingredients to the wet ingredients, mixing on low speed until just combined. Be careful not to overmix the dough at this stage. Overmixing can develop the gluten in the flour too much, resulting in tough cookies. Stop mixing as soon as you no longer see streaks of dry flour. A few small lumps are perfectly fine.
5. Gently fold in the blackberries and chocolate chips. You can do this with a spatula or a wooden spoon. The goal here is to distribute them throughout the dough without crushing the berries too much. We want to see distinct pieces of blackberry and chocolate in our finished cookies. If you overmix at this stage, the blackberry juices can bleed into the dough, making it a less appealing color and potentially affecting the texture.
Baking and Cooling: The Final Touch
Drop rounded tablespoons of dough onto the prepared baking sheets, leaving about 2 inches of space between each cookie. This allows them to spread as they bake. If your dough seems a little soft, you can place the baking sheets in the refrigerator for about 10-15 minutes before baking. This will help the cookies hold their shape better and prevent them from spreading too much.
Bake for 10-12 minutes, or until the edges are lightly golden brown and the centers are still slightly soft. The exact baking time will depend on your oven, so keep an eye on them during the last few minutes. It’s better to slightly underbake than overbake, as the cookies will continue to cook on the hot baking sheet after you remove them from the oven.
Once baked, let the cookies cool on the baking sheets for 5 minutes. This allows them to set up and become firm enough to handle. After 5 minutes, carefully transfer the cookies to a wire rack to cool completely. Cooling on a wire rack allows air to circulate around the cookies, preventing them from becoming soggy on the bottom.
Enjoy these delightful Blackberry Cookies with a glass of milk, a cup of tea, or simply on their own. They are best enjoyed within a few days of baking, stored in an airtight container at room temperature. The combination of sweet, tart, buttery, and chocolatey flavors makes them a truly memorable treat!
Conclusion:
I truly hope you’ve enjoyed learning how to make these delightful Blackberry Cookies! This recipe is a fantastic way to capture the vibrant, slightly tart essence of fresh blackberries in a soft, chewy cookie base. The balance of sweet dough and bursting berries makes them an absolute winner for any occasion. They are perfect for a summer picnic, a cozy afternoon treat with a cup of tea, or even as a charming addition to a dessert spread. The beautiful purple hues from the blackberries also make them visually appealing.
Don’t be afraid to experiment with variations! You could add a hint of lemon zest to the dough for an extra bright flavor, or even a touch of almond extract. If you don’t have fresh blackberries, frozen ones work wonderfully too, just be sure to thaw them and drain any excess moisture before adding them to the batter to prevent soggin extractess. I really encourage you to give these Blackberry Cookies a try – they are sure to become a new favorite!
Frequently Asked Questions:
How can I store these Blackberry Cookies?
For the best texture, store your cooled Blackberry Cookies in an airtight container at room temperature for up to 3-4 days. If you want to keep them longer, you can also freeze them in a single layer on a baking sheet until firm, then transfer them to a freezer-safe bag or container for up to 2-3 months. Thaw at room temperature before enjoying.
What if I don’t have fresh blackberries?
Frozen blackberries are a perfectly acceptable substitute! Make sure to thaw them completely and gently pat them dry with paper towels to remove as much excess liquid as possible before folding them into the cookie dough. This step is crucial to prevent your cookies from becoming too wet and spread out.
Can I add other fruits to the cookies?
Absolutely! While blackberries are the star, you could certainly try adding other complementary fruits. Blueberries or raspberries would be delicious additions, or even a mix of berries for a more complex flavor profile. Just remember to consider the moisture content of any fruit you add and adjust the dough consistency if necessary.
Blackberry Cookies
Delicious and easy blackberry cookies with bursts of sweet fruit and chocolate.
Ingredients
-
¾ cup 100g frozen or fresh blackberries
-
⅓ cup 75g butter, softened
-
½ cup 100g granulated sugar
-
2 teaspoons vanilla extract
-
1 ⅓ cups 185g all-purpose flour (plain flour)
-
½ teaspoon baking soda
-
⅛ teaspoon salt
-
½ cup 70g chocolate chips
Instructions
-
Step 1
Preheat your oven to 350°F (175°C). Line baking sheets with parchment paper. -
Step 2
In a large bowl, cream together the softened butter and granulated sugar until light and fluffy. -
Step 3
Beat in the vanilla extract. -
Step 4
In a separate bowl, whisk together the all-purpose flour, baking soda, and salt. -
Step 5
Gradually add the dry ingredients to the wet ingredients, mixing until just combined. Do not overmix. -
Step 6
Gently fold in the blackberries and chocolate chips. -
Step 7
Drop rounded tablespoons of dough onto the prepared baking sheets, about 2 inches apart. -
Step 8
Bake for 10-12 minutes, or until the edges are golden brown and the centers are set. -
Step 9
Let the cookies cool on the baking sheets for a few minutes before transferring them to a wire rack to cool completely.
Important Information
Nutrition Facts (Per Serving)
It is important to consider this information as approximate and not to use it as definitive health advice.
Allergy Information
Please check ingredients for potential allergens and consult a health professional if in doubt.