Peanut Butter Chocolate Chip Cookie Cups – Best Recipe
Peanut Butter Chocolate Chip Cookie Cups are more than just a dessert; they’re a gateway to pure, unadulterated joy. Imagin extracte the warm, gooey embrace of melt-in-your-mouth peanut butter cookie dough, cradling generous pockets of rich, decadent chocolate chips. What is it about these delightful little vessels that captures our hearts and taste buds? It’s the perfect marriage of two iconic flavors, elevated by their playful, cup-like form. Unlike a traditional flat cookie, these Peanut Butter Chocolate Chip Cookie Cups offer a delightful textural contrast, with crispy edges giving way to a soft, chewy center, all while ensuring that every bite is loaded with those irresistible chocolate chunks. They’re a guaranteed crowd-pleaser, perfect for sharing (or not!) and are sure to become your new go-to treat for any occasion.
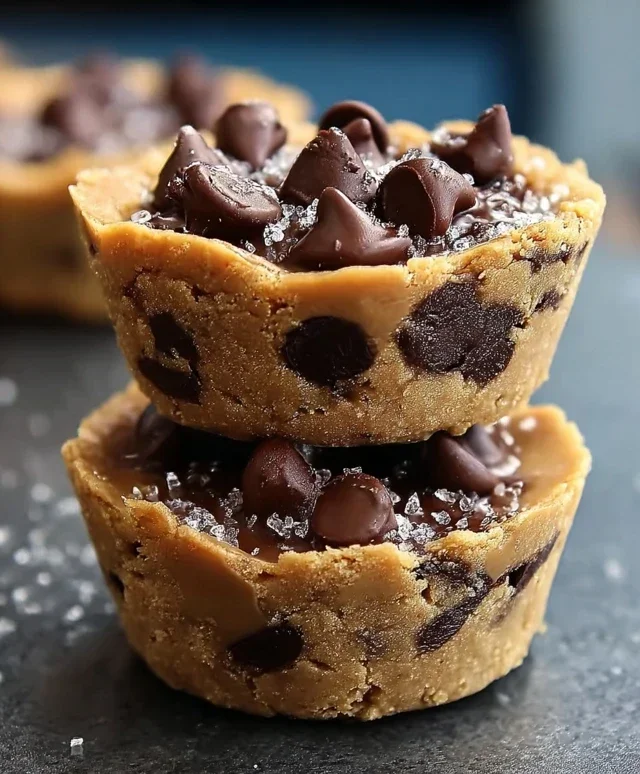
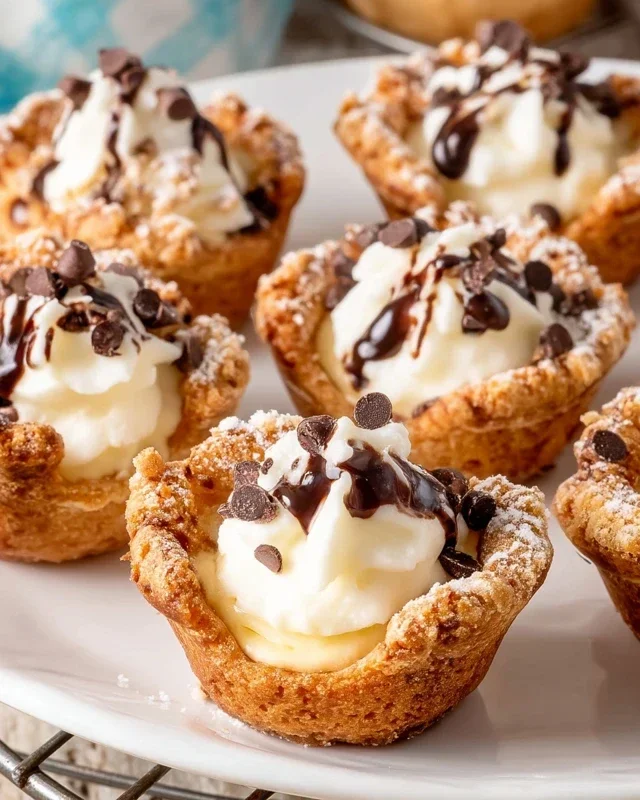
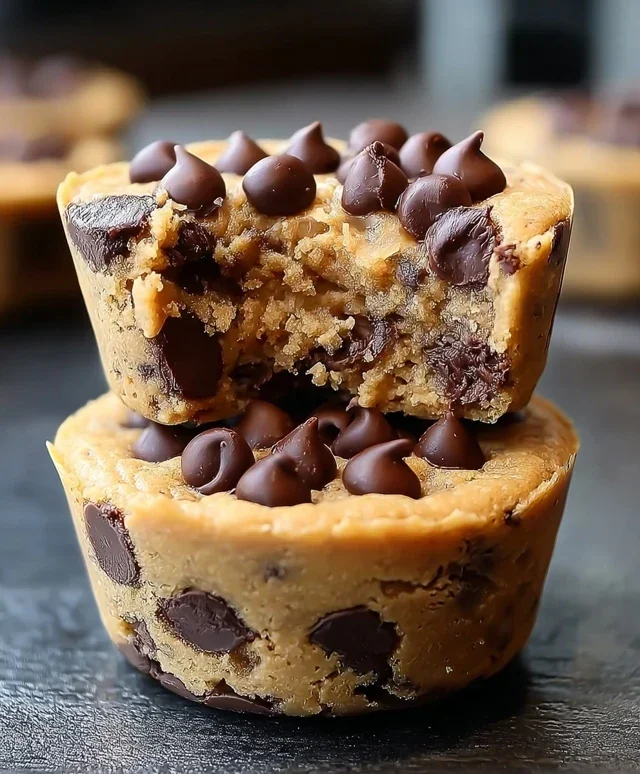
Peanut Butter Chocolate Chip Cookie Cups
Get ready to experience pure bliss with these Peanut Butter Chocolate Chip Cookie Cups! Imagin extracte a perfectly baked cookie, soft and chewy in the center with slightly crisp edges, cradling a generous dollop of rich, molten chocolate and a swirl of creamy peanut butter. These aren’t just cookies; they’re miniature masterpieces, designed to be baked in muffin tins to create adorable, edible cups. They’re the perfect canvas for a scoop of your favorite vanilla ice cream and a decadent drizzle of melted chocolate and caramel sauce. Whether you’re looking for a show-stopping dessert for a party or a comforting treat for yourself, these cookie cups are guaranteed to impress.
Ingredients:
Making the Magic Happen: Step-by-Step Instructions
Prep and Dry Ingredients
Creating the Cookie Dough Base
Forming and Baking the Cookie Cups
These Peanut Butter Chocolate Chip Cookie Cups are best enjoyed immediately, while the ice cream is still delightfully frozen and the cookie is perfectly chewy. They are a fantastic way to elevate a classic cookie into an unforgettable dessert experience. Enjoy every bite!
Conclusion:
And there you have it – the ultimate guide to creating these irresistible peanut butter chocolate chip cookie cups! What makes this recipe so fantastic is the perfect marriage of two beloved flavors: the rich, nutty depth of peanut butter and the satisfying sweetness of melty chocolate chips, all encased in a wonderfully chewy, slightly crisp cookie cup. They’re incredibly easy to make, making them a perfect project for bakers of all skill levels, and the results are consistently delicious. These cookie cups are wonderfully versatile. Serve them warm for an ooey-gooey, decadent dessert experience, or let them cool completely for a delightful on-the-go treat. They’re fantastic on their own, but I also love them with a scoop of vanilla ice cream for an extra special indulgence. Don’t be afraid to get creative with variations! Consider adding a sprinkle of sea salt on top before baking to enhance the flavors, or stir in some chopped pretzels for a salty crunch. You could even swirl in some caramel for an added layer of sweetness. I truly hope you give these peanut butter chocolate chip cookie cups a try; I’m confident you’ll fall in love with them just as much as I have!
Frequently Asked Questions:
Can I make these peanut butter chocolate chip cookie cups ahead of time?
Absolutely! You can prepare the dough and store it in an airtight container in the refrigerator for up to 3 days. When you’re ready to bake, simply scoop and bake as usual. You can also bake them completely, let them cool, and then store them in an airtight container at room temperature for up to 3-4 days, though they are best enjoyed within the first couple of days for optimal freshness and texture.
What kind of peanut butter works best for these cookie cups?
For the best texture and flavor, I recommend using creamy, commercial peanut butter (like Jif or Skippy). Natural peanut butter, while delicious, can sometimes separate and affect the consistency of the cookie dough. If you do choose to use natural peanut butter, ensure it’s well-stirred and you might need to slightly adjust the flour amount if the dough seems too wet.
Peanut Butter Chocolate Chip Cookie Cups
Deliciously soft and chewy peanut butter cookie cups filled with chocolate chips, perfect for dessert.
Ingredients
-
1¼ cups all-purpose flour
-
½ teaspoon baking soda
-
¼ teaspoon salt
-
½ cup unsalted butter, softened
-
½ cup brown sugar
-
¼ cup granulated sugar
-
½ cup peanut butter (creamy or chunky)
-
1 teaspoon vanilla extract
-
1 large egg
-
1 cup chocolate chips, divided (¾ cup for mixing in, ¼ cup for topping)
-
Vanilla ice cream
-
Melted chocolate for drizzling
-
Caramel sauce for drizzling
Instructions
-
Step 1
Preheat oven to 375°F (190°C). Grease a 12-cup muffin tin. -
Step 2
In a medium bowl, whisk together flour, baking soda, and salt. -
Step 3
In a large bowl, cream together softened butter, brown sugar, and granulated sugar until light and fluffy. -
Step 4
Beat in the peanut butter and vanilla extract until well combined. -
Step 5
Add the egg and beat until incorporated. -
Step 6
Gradually add the dry ingredients to the wet ingredients, mixing until just combined. Fold in ¾ cup of chocolate chips. -
Step 7
Scoop rounded tablespoons of dough into each muffin cup, pressing slightly to form a cup shape. -
Step 8
Top each cookie cup with the remaining ¼ cup of chocolate chips. -
Step 9
Bake for 9-11 minutes, or until edges are golden brown and centers are still slightly soft. -
Step 10
Let cool in the muffin tin for a few minutes before transferring to a wire rack to cool completely. -
Step 11
Serve warm with a scoop of vanilla ice cream, drizzled with melted chocolate and caramel sauce.
Important Information
Nutrition Facts (Per Serving)
It is important to consider this information as approximate and not to use it as definitive health advice.
Allergy Information
Please check ingredients for potential allergens and consult a health professional if in doubt.