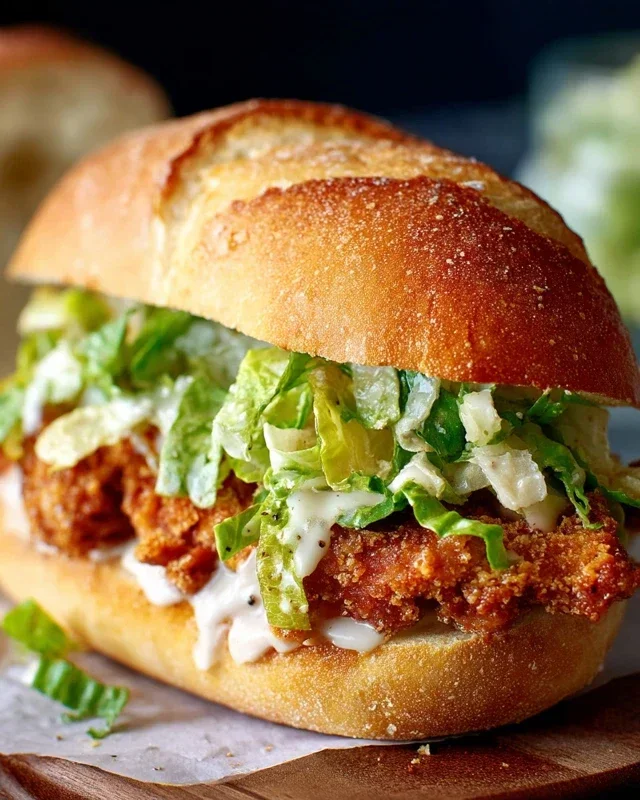
Crispy Chicken Caesar Sandwich-Easy Delicious Recipe
The Crispy Chicken Caesar Sandwich is more than just a meal; it’s an experience. We all have those cravings, right? That undeniable urge for something satisfying, flavorful, and utterly delicious. This sandwich delivers on all fronts, transforming a classic salad into a handheld masterpiece. What is it about this combination that captures our hearts (and stomachs)? It’s the perfect harmony of textures and tastes: the satisfying crunch of perfectly fried chicken, the creamy tang of Caesar dressing, the fresh bite of romaine lettuce, and the sharp bite of Parmesan cheese, all nestled within a soft, toasted bun. This isn’t just any chicken sandwich; it’s a sophisticated yet comforting indulgence. We’ve elevated the humble sandwich to new heights, making this Crispy Chicken Caesar Sandwich a guaranteed crowd-pleaser and a personal favorite for those days when you need a little something extra special.
Ingredients:
Let’s elevate your sandwich game with this incredible Crispy Chicken Caesar Sandwich! Forget those soggy, bland versions; we’re talking about a symphony of textures and flavors. Imagin extracte perfectly crispy, golden-brown chicken nestled inside a soft, toasted bun, all coated in a vibrant, tangy Caesar dressing. This recipe is designed to be both impressive and surprisingly approachable, making it perfect for a weeknight treat or a weekend gathering. We’ll be making our own Caesar dressing from scratch – it’s so much better than store-bought and surprisingly quick. The secret to truly amazing crispy chicken is a good dredge and the right frying temperature, which we’ll cover in detail. Get ready to impress yourself and anyone lucky enough to snag a bite of this masterpiece.
Making the Creamy Caesar Dressing
First things first, let’s get that luscious Caesar dressing ready. In a medium bowl, combine the full-fat mayonnaise and the Greek yogurt. The combination of creamy mayo and tangy yogurt creates a beautiful balance, giving us that classic Caesar richness with a lighter touch. Next, whisk in the Dijon mustard for a subtle kick and the Worcestershire sauce for that irresistible umami depth. Now, add the fresh lemon juice. This is crucial for cutting through the richness and adding a bright, zesty note that makes Caesar dressing so addictive. Stir in the freshly grated Parmesan cheese. Don’t skimp on grating it yourself; the flavor difference is immense compared to pre-shredded. Mince your garlic cloves very finely or even use a microplane for the best distribution of flavor. Add the minced garlic, a ¼ teaspoon of black pepper, and a pinch of sea salt. Whisk everything together until it’s smooth, creamy, and thoroughly combined. Taste and adjust seasoning if needed – maybe a touch more lemon, salt, or pepper. Set this glorious dressing aside; it will only get better as the flavors meld.
Preparing the Crispy Chicken Cutlets
Now for the star of our show: the crispy chicken! We’ll be using chicken cutlets for this recipe. If your cutlets are a bit thick, you can gently pound them between two pieces of parchment paper or plastic wrap to an even thickness. This ensures they cook quickly and evenly, resulting in perfect crispiness without drying out the chicken. Pat the chicken cutlets completely dry with paper towels. This step is non-negotiable for achieving a truly crispy coating. Moisture is the enemy of crispiness! Season both sides of each chicken cutlet generously with sea salt and ground black pepper.
Next, we’ll prepare our dredgin extractg station. In a shallow dish or plate, combine the all-purpose flour with ½ teaspoon of salt. This flour mixture will give our chicken a light, crispy coating. Dredge each seasoned chicken cutlet in the flour mixture, ensuring it’s lightly but evenly coated on all sides. Shake off any excess flour. For an even crispier crust, you can double-dip: dip the floured chicken back into a beaten egg (not listed in ingredients, but a common step for extra crispiness; if you prefer to skip, the flour dredge alone will still yield good results) and then back into the flour. However, for this recipe, we’re keeping it simpler with just the flour dredge for a clean, crisp texture.
Frying the Chicken to Golden Perfection
It’s time to get frying! Pour enough oil into a large, heavy-bottomed skillet to come up about ½ inch. A neutral oil like vegetable, canola, or even a light olive oil works best. Heat the oil over medium-high heat until it shimmers and a small piece of bread dropped into it sizzles immediately. This is crucial for ensuring your chicken fries up crispy and doesn’t absorb too much oil. Carefully place 2-3 chicken cutlets into the hot oil, being careful not to overcrowd the pan. Overcrowding will lower the oil temperature and lead to soggy chicken. Fry for about 3-5 minutes per side, or until golden brown and cooked through. The exact time will depend on the thickness of your cutlets. Use tongs to flip them carefully.
Once the chicken is perfectly golden and cooked, remove it from the skillet and place it on a wire rack set over a baking sheet. This allows excess oil to drain off, maintaining that beautiful crispiness. Don’t place them directly on paper towels, as this can trap steam and make them less crispy. Repeat the frying process with the remaining chicken cutlets, making sure the oil returns to the correct temperature between batches.
Assembling Your Masterpiece
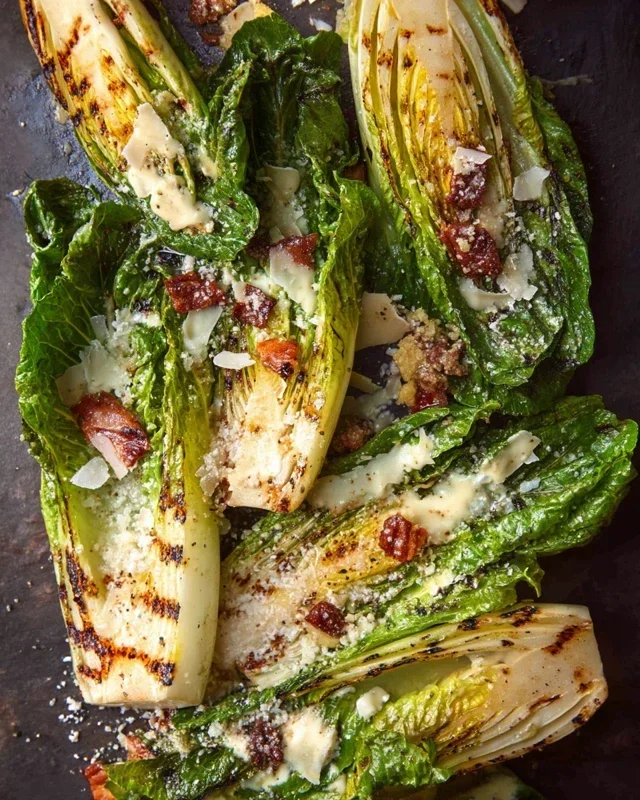
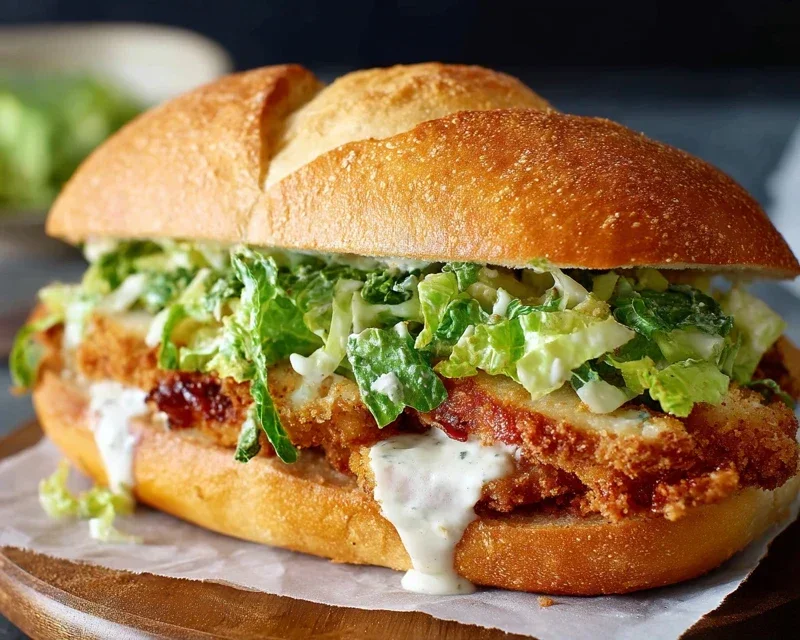
Now for the exciting part: assembly! Slice your crusty sandwich rolls or brioche buns in half horizontally. You can lightly toast them under the broiler or in a toaster for an extra layer of texture and warmth. Spread a generous amount of your homemade Caesar dressing on both halves of each bun. This is where that delicious dressing truly shines! Place a crispy chicken cutlet on the bottom half of each bun. Top the chicken with a large lettuce leaf – Romaine is classic for its crunch and slight bitterness. If you have extra Parmesan shavings, sprinkle them over the lettuce for an extra burst of cheesy goodness. Cap off your sandwich with the top half of the bun, pressing down gently.
Serve these incredible Crispy Chicken Caesar Sandwiches immediately to enjoy them at their absolute crispiest. They are perfect on their own or with a side of crispy fries or a simple salad. Enjoy every delicious bite!
Note 1: Chicken cutlets are typically thinly sliced chicken breasts. If you can’t find pre-cut cutlets, you can buy chicken breasts and slice them horizontally to create thinner pieces.
Conclusion:
And there you have it! Your ultimate guide to crafting the most delicious and satisfying Crispy Chicken Caesar Sandwich. This recipe truly hits all the right notes: the perfect crunch from the fried chicken, the creamy, tangy Caesar dressing, and the fresh crunch of romaine, all nestled between a perfectly toasted bun. It’s a simple yet incredibly rewarding meal that’s sure to become a new favorite in your rotation.
I love serving these sandwiches with a side of sweet potato fries or a light, crisp coleslaw. For a lighter option, a simple green salad with a vinaigrette also pairs beautifully. Don’t be afraid to get creative with your variations! Consider adding a sprinkle of crispy beef bacon bits for extra smoky flavor, some thinly sliced red onion for a bit of bite, or even a slice of sharp cheddar cheese for a gooey, cheesy twist. The possibilities are endless, and the core elements of this Crispy Chicken Caesar Sandwich are so robust that they can handle a variety of additions. I truly encourage you to give this recipe a try. I’m confident you’ll be delighted with the results!
Frequently Asked Questions:
Can I make the chicken ahead of time?
Absolutely! You can bread and fry the chicken pieces a few hours in advance. Let them cool completely on a wire rack, then store them in an airtight container in the refrigerator. Reheat them in a single layer on a baking sheet in a preheated oven at 350°F (175°C) for about 5-7 minutes, or until warmed through and still crispy.
What kind of bread works best?
While brioche buns offer a wonderful richness and softness, a sturdy ciabatta roll or even a toasted sourdough can also be fantastic. The key is a bun that can hold up to the fillings without becoming soggy. Toasting the inside of the bun is crucial for texture!
Is there a way to make the Caesar dressing healthier?
Yes, you can definitely lighten up the dressing! Try using Greek yogurt as a base instead of all mayonnaise, or reduce the amount of oil and add a splash of lemon juice or white grape juice vinegar for extra tang. You can also skip the anchovies if they aren’t your preference, though they do add a signature depth of flavor.
Crispy Chicken Caesar Sandwich
A delicious and crispy chicken sandwich with a homemade Caesar dressing.
Ingredients
-
½ cup full-fat mayonnaise
-
3 tbsp Greek yogurt
-
1 tsp Dijon mustard
-
1 tsp Worcestershire sauce
-
2 tbsp lemon juice
-
¼ cup Parmesan cheese (freshly grated)
-
1-2 garlic cloves (minced)
-
¼ tsp black pepper
-
Pinch sea salt
-
5 chicken cutlets
-
sea salt (to taste)
-
ground black pepper (to taste)
-
Oil (for frying)
-
⅓ cup all-purpose flour
-
½ tsp salt
Instructions
-
Step 1
In a medium bowl, whisk together the mayonnaise, Greek yogurt, Dijon mustard, Worcestershire sauce, lemon juice, Parmesan cheese, minced garlic, ¼ tsp black pepper, and pinch sea salt to create the Caesar dressing. Set aside. -
Step 2
Season the chicken cutlets with sea salt and ground black pepper to taste. -
Step 3
In a shallow dish, combine the all-purpose flour and ½ tsp salt. Dredge each chicken cutlet in the flour mixture, ensuring it’s evenly coated. -
Step 4
Heat enough oil in a large skillet over medium-high heat for shallow frying. Once the oil is hot, carefully add the floured chicken cutlets. -
Step 5
Fry the chicken for about 4-6 minutes per side, or until golden brown and cooked through. Drain on a paper towel-lined plate. -
Step 6
To assemble the sandwiches, place a crispy chicken cutlet on the bottom half of a bun. Generously spread the prepared Caesar dressing over the chicken. Top with the other half of the bun.
Important Information
Nutrition Facts (Per Serving)
It is important to consider this information as approximate and not to use it as definitive health advice.
Allergy Information
Please check ingredients for potential allergens and consult a health professional if in doubt.