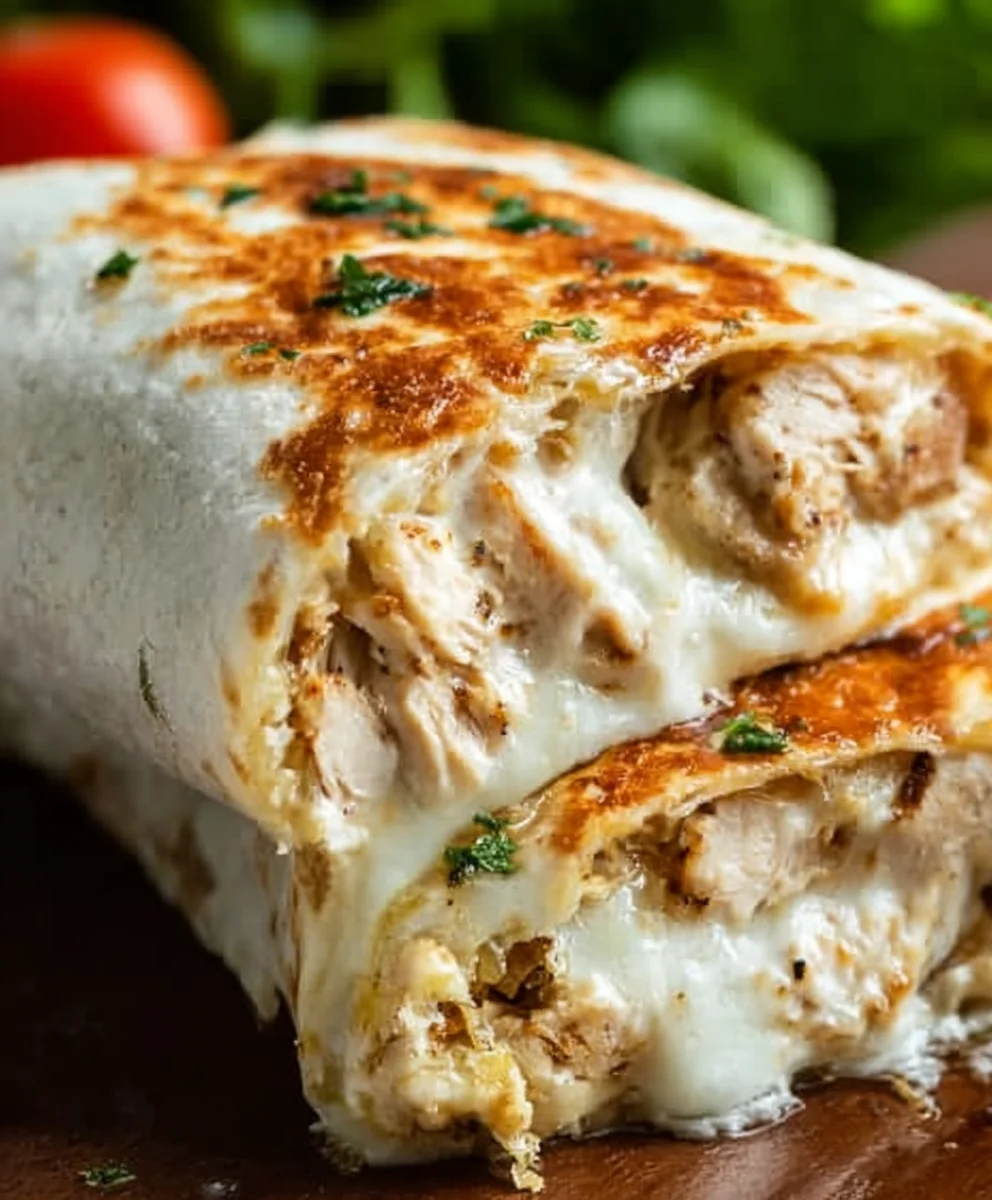
Easy Cheesy Garlic Chicken Wraps Recipe
Cheesy Garlic Chicken Wraps are more than just a meal; they’re a warm hug in tortilla form, a guaranteed crowd-pleaser, and frankly, a delicious answer to the eternal “what’s for dinner?” question. There’s something undeniably comforting and satisfying about the combination of tender, garlicky chicken, melty cheese, and a soft, pliable tortilla. It’s the kind of dish that evokes smiles around the dinner table, perfect for a busy weeknight when you need something quick and flavorful, or for a casual gathering with friends. What truly sets these Cheesy Garlic Chicken Wraps apart is the incredible depth of flavor achieved through simple, yet potent ingredients. We’re talking about that irresistible aroma of roasted garlic mingling with savory chicken, all enveloped in a blanket of gooey, melted cheese. Prepare yourself for pure culinary bliss!
Ingredients:
- 2 cups cooked chicken, shredded
- 1/2 cup garlic aioli
- 1 cup cheddar cheese, shredded
- 4 large tortillas
- Salt and pepper to taste
Preparing the Cheesy Garlic Chicken Filling
To kick off this incredibly easy and delicious recipe for Cheesy Garlic Chicken Wraps, the first step is all about creating that flavorful chicken filling. You’ll need about two cups of cooked chicken, and I highly recommend shredding it yourself for the best texture. Rotisserie chicken works like a charm here and is a real time-saver. If you’re cooking chicken specifically for this recipe, simply bake or boil a couple of chicken breasts until they’re cooked through, then let them cool slightly before shredding them with two forks or by hand. This shredded chicken will be the star of our filling, providing a hearty and satisfying base for the wraps.
Once your chicken is perfectly shredded, we’re going to elevate it with a wonderfully creamy and garlicky binder. Take your half cup of garlic aioli and add it directly to the bowl with the shredded chicken. Aioli is essentially mayonnaise infused with garlic, and it provides a fantastic richness and a punch of flavor that complements the chicken beautifully. Gently fold the aioli into the chicken, ensuring that every strand of chicken is coated. You want a nice, even distribution so that each bite is packed with that delicious garlicky goodness.
Now comes the cheese! We’ll be adding one cup of shredded cheddar cheese to this mixture. Cheddar cheese brings a classic, sharp, and slightly nutty flavor that melts wonderfully and binds everything together. Don’t be shy with the cheese – it’s what makes these wraps truly irresistible. Again, gently mix the shredded cheddar into the chicken and aioli mixture until it’s well incorporated. The cheese will start to soften slightly from the residual warmth of the chicken and the creaminess of the aioli, begin extractning to form that magical cheesy pull we all love.
Finally, season your filling. Taste a small bit of the mixture and add salt and freshly ground black pepper as needed. The amount of salt you’ll need will depend on how salty your chicken and aioli are. Remember, you can always add more salt, but you can’t take it away, so start with a small pinch and adjust from there. This seasoning step is crucial gin extract bringing out all the individual flavors and ensuring a balanced and delicious filling. You should now have a glorious mound of cheesy, garlicky chicken ready for wrapping!
Assembling the Cheesy Garlic Chicken Wraps
With your delicious cheesy garlic chicken filling prepared, it’s time to move on to assembling the wraps. You will need four large tortillas for this recipe. For the best results and to prevent them from tearing when you wrap them, I like to warm my tortillas slightly. You can do this in a dry skillet over medium heat for about 30 seconds per side, or by wrapping them in a damp paper towel and microwaving them for about 20-30 seconds. A warm tortilla becomes more pliable and easier to work with, making the assembly process much smoother and preventing any messy mishaps.
Lay one warmed tortilla flat on a clean surface. Now, spoon about a quarter of your prepared cheesy garlic chicken mixture onto the center of the tortilla. Try to distribute the filling evenly across the center, leaving a border of about an inch or two around the edges. You don’t want to overstuff the tortilla, as this will make it difficult to wrap neatly. Aim for a generous but manageable amount ofgin extractlling.
To begin wrapping, fold the two sides of the tortilla inwards, over the filling. Think of it like tucking in the sides of a present. This helps to contain the filling and prevent it from spilling out. Once the sides are tucked in, start rolling the tortilla up from the bottom edge, keeping the filling snug and compact. Roll it up as tightly as you can without tearing the tortilla. The warmth of the tortilla and the slight melt of the cheese should help seal the wrap as you go. Repeat this process with the remaining three tortillas and the rest of the chicken filling.
Grilling or Pan-Frying for the Perfect Finish
Now that your Cheesy Garlic Chicken Wraps are assembled, it’s time for the final, glorious step: cooking them to perfection. This step not only heats everything through but also creates a wonderfully crispy exterior on the tortilla and ensures that the cheese is beautifully melted and gooey. You have a couple of excellent options here: either grill them on a griddle or pan-fry them in a skillet.
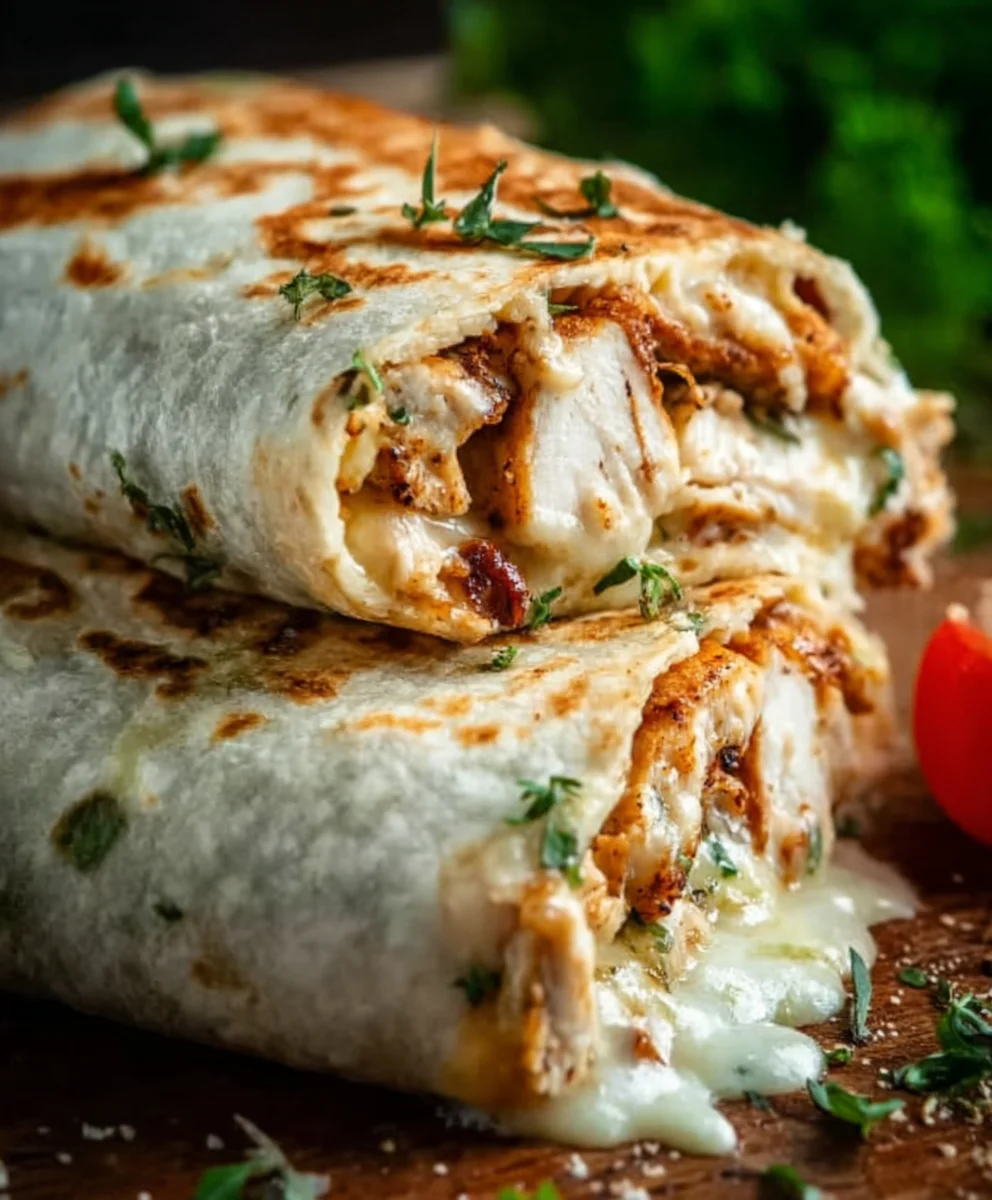
If you choose to grill or pan-fry, heat a tablespoon of butter or a drizzle of olive oil in a large skillet or on a griddle over medium heat. Once the skillet is hot, carefully place your assembled wraps, seam-side down, onto the hot surface. You want them to sizzle gently, not aggressively. Let each wrap cook for about 3-4 minutes per side, or until the tortilla is golden brown and slightly crispy, and the cheese inside is fully melted and oozing. Keep an eye on them to prevent burning; you’re aiming for a beautiful golden-brown color. You can gently press down on the wraps with a spatula as they cook to help them crisp up evenly.
Once both sides are beautifully golden and the cheese is melted, remove the Cheesy Garlic Chicken Wraps from the skillet. If you are making them in batches, keep the cooked wraps warm in a low oven (around 200°F or 93°C) while you cook the remaining ones. This ensures they are all hot and ready to serve at the same time. The aroma in your kitchen at this point should be absolutely incredible – the scent of toasted tortillas, melted cheese, and garlic is truly irresistible. These Cheesy Garlic Chicken Wraps are best enjoyed immediately while they are warm, gooey, and utterly satisfying.
Conclusion:
There you have it – a simple yet incredibly satisfying recipe for Cheesy Garlic Chicken Wraps! We’ve explored how easily you can transform everyday ingredients into a flavorful and comforting meal that’s perfect for any occasion. Whether you’re looking for a quick weeknight dinner, a delicious lunch option, or even something to pack for a picnic, these Cheesy Garlic Chicken Wraps are sure to be a hit.
I love serving these warm, straight off the pan, with a side of crisp salad or some sweet potato fries. For variations, don’t hesitate to experiment! You could add a sprinkle of red pepper flakes for a bit of heat, incorporate some sautéed mushrooms or bell peppers for added texture and flavor, or even swap out the cheddar cheese for Monterey Jack or a blend of your favorites. The possibilities are endless, and the core of this recipe is so forgiving.
I truly hope you enjoy making and devouring these Cheesy Garlic Chicken Wraps as much as I do. Don’t be afraid to get creative in the kitchen – that’s where the magic happens!
Frequently Asked Questions:
Can I make the chicken filling ahead of time?
Absolutely! You can cook the chicken and garlic mixture a day in advance and store it in an airtight container in the refrigerator. When you’re ready to assemble your Cheesy Garlic Chicken Wraps, simply reheat the filling gently on the stovetop or in the microwave before stuffing your tortillas.
What kind of tortillas work best for these wraps?
While standard flour tortillas are a fantastic choice, you can also use whole wheat tortillas for a healthier option, or even gluten-free tortillas if needed. Larger tortillas will make rolling easier, but any size will work!
Is there a way to make these wraps healthier?
Certainly! To make these Cheesy Garlic Chicken Wraps healthier, you can opt for whole wheat or spinach tortillas, use lean chicken breast, and reduce the amount of cheese slightly. Adding plenty of fresh vegetables like lettuce, tomatoes, and onions inside the wrap will also boost the nutritional value.
Easy Cheesy Garlic Chicken Wraps
Quick and flavorful wraps filled with shredded chicken, creamy garlic aioli, and melted cheddar cheese, then pan-fried to golden perfection.
Ingredients
-
2 cups cooked chicken, shredded
-
1/2 cup garlic aioli
-
1 cup cheddar cheese, shredded
-
4 large tortillas
-
Salt to taste
-
Pepper to taste
Instructions
-
Step 1
In a bowl, combine the shredded cooked chicken with the garlic aioli. Mix well until the chicken is evenly coated. Stir in the shredded cheddar cheese. -
Step 2
Season the chicken mixture with salt and pepper to taste. Ensure all ingredients are well incorporated. -
Step 3
Warm the tortillas in a dry skillet over medium heat for about 30 seconds per side, or microwave them wrapped in a damp paper towel for 20-30 seconds until pliable. -
Step 4
Lay a warmed tortilla flat. Spoon about a quarter of the cheesy chicken mixture onto the center, leaving a border. Fold the sides of the tortilla inward, then roll it up tightly from the bottom edge. -
Step 5
Heat a tablespoon of butter or olive oil in a skillet over medium heat. Place the assembled wraps, seam-side down, onto the hot skillet. -
Step 6
Cook for 3-4 minutes per side, until the tortilla is golden brown and crispy, and the cheese is fully melted. Gently press with a spatula for even crisping. -
Step 7
Remove wraps from the skillet and serve immediately. If cooking in batches, keep warm in a low oven (200°F/93°C).
Important Information
Nutrition Facts (Per Serving)
It is important to consider this information as approximate and not to use it as definitive health advice.
Allergy Information
Please check ingredients for potential allergens and consult a health professional if in doubt.