Easy Homemade Bread Recipe- Delicious & Simple Baking
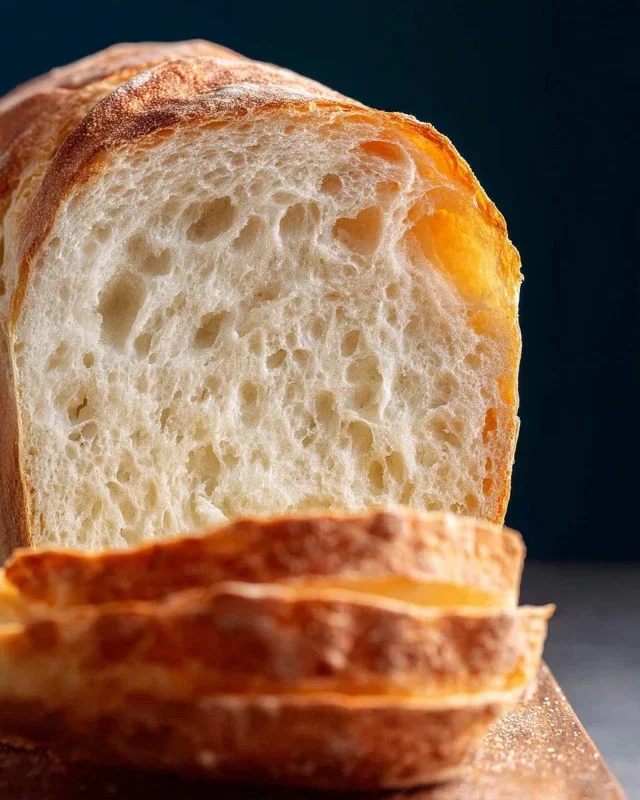
Homemade bread is more than just a baked good; it’s an experience. The aroma that fills your kitchen as it bakes, the satisfying crackle of the crust as you slice into it, and the tender, pillowy interior are sensory delights that store-bought alternatives simply can’t replicate. There’s a primal satisfaction in creating something so fundamental from scratch, transforming simple ingredients like flour, water, yeast, and salt into a golden-brown masterpiece. People love homemade bread because it connects us to tradition, offers unparalleled freshness, and allows for endless personalization – add herbs, seeds, or even a touch of sweetness! This isn’t just about food; it’s about comfort, connection, and the joy of creation. Let’s embark on the delicious journey of crafting your own perfect loaf of homemade bread, a testament to patience and simple pleasures.
The Joy of Homemade Bread
There’s something undeniably special about the aroma of freshly baked bread wafting through your kitchen. It’s a comforting, wholesome scent that signals warmth and a delicious treat is on its way. Making bread from scratch might seem intimidating, but I promise you, it’s a remarkably rewarding and achievable endeavor. With a few simple ingredients and a bit of patience, you’ll be pulling golden-brown loaves out of your oven in no time. This recipe is a fantastic starting point for begin extractners, yielding a wonderfully soft and flavorful loaf that’s perfect for sandwiches, toast, or simply enjoyed with a smear of butter.
Ingredients:
Let’s Get Baking!
Step 1: Activating the Yeast and Creating the Sponge
The first crucial step is to wake up our yeast. In a large mixing bowl, combine the warm water, active dry yeast, and your chosen sweetener (honey or sugar). Give it a gentle stir. The water needs to be warm enough to activate the yeast but not so hot that it kills it – think comfortably warm to the touch, like a baby’s bath. If your water is too cool, the yeast won’t bubble, and your bread won’t rise. If it’s too hot, you’ll need to start over. Let this mixture sit undisturbed for about 5 to 10 minutes. You’ll know the yeast is alive and well when it becomes foamy and bubbly on the surface. This foamy layer is called the “bloom,” and it’s a good indicator that your yeast is ready to work its magic. This bubbly mixture forms the base of our bread dough, sometimes referred to as a sponge.
Step 2: Incorporating the Flavor and Structure
Once your yeast has bloomed, it’s time to add the remaining liquid ingredients and the foundation of your dough’s structure. Add the salt and oil to the yeast mixture. The salt is essential not only for flavor but also to control the yeast’s activity and strengthen the gluten structure that will develop later. The oil adds tenderness and a lovely softness to the finished loaf. Now, it’s time to start adding the flour. Begin extract by adding about 4 cups of your flour to the wet ingredients.
Step 3: Mixing and Kneading the Dough
This is where the real transformation happens! Stir the ingredients together with a sturdy spoon or a dough whisk until a shaggy dough begin extracts to form. It will be sticky at this stage, and that’s perfectly normal. Once it’s too difficult to stir, turn the dough out onto a lightly floured surface. This is where the kneading comes in. If you have a stand mixer with a dough hook, you can use that on a low speed. If you’re kneading by hand, start by folding the dough over on itself, pushing down and away with the heels of your hands, then rotating the dough a quarter turn and repeating. Continue this process, adding small amounts of flour as needed, just enough to prevent the dough from sticking excessively to your hands or the surface. You’re looking for a smooth, elastic dough that springs back when gently poked. This kneading process develops the gluten, which is the protein network that gives bread its structure and chew. Kneading typically takes about 8-10 minutes by hand, or 5-7 minutes with a stand mixer. Don’t rush this step; it’s vital for a good texture. You might need up to 5 1/2 cups of flour in total, so add it gradually until the dough is no longer overly sticky but still has a slight tackiness.
Step 4: The First Rise (Proofing)**
Now that we have a beautifully kneaded dough, it’s time to let it rest and grow. Lightly grease a clean, large bowl with a little bit of oil. Place your dough ball in the bowl and turn it to coat all sides with the oil. Cover the bowl tightly with plastic wrap or a clean kitchen towel. Place the bowl in a warm, draft-free spot in your kitchen. This could be a slightly warm oven (turned off, of course!), on top of your refrigerator, or simply on your counter if your kitchen is warm. The dough needs to rise until it has doubled in size, which typically takes about 1 to 1 1/2 hours, depending on the warmth of your environment. This first rise is called proofing, and it’s where the yeast produces carbon dioxide gas, causing the dough to puff up and develop its airy texture. Resist the urge to poke or prod it too much during this time.
Step 5: Shaping and the Second Rise
Once the dough has doubled, gently punch it down to release the trapped air. Turn the dough out onto a lightly floured surface again. At this point, you can shape your loaf. For a classic sandwich loaf, gently pat the dough into a rectangular shape, then roll it up tightly, pinching the seam closed. Place the shaped loaf into a greased loaf pan. Again, cover the pan and let the dough rise for a second time in a warm place. This second rise is usually shorter, about 30-45 minutes, until the dough has visibly puffed up and almost reached the rim of the pan. You can also shape the dough into rolls or a round boule and place it on a baking sheet if you prefer.
Step 6: Baking to Golden Perfection
Preheat your oven to 375 degrees Fahrenheit (190 degrees Celsius) while your loaf is undergoing its second rise. Once the oven is preheated and the dough has risen sufficiently, it’s time to bake! Place the loaf pan (or baking sheet) into the preheated oven. Bake for 30-40 minutes for a standard loaf, or until the crust is a deep golden brown and the internal temperature of the bread reaches 190-200 degrees Fahrenheit (88-93 degrees Celsius) when measured with an instant-read thermometer. You can also tap the bottom of the loaf; it should sound hollow. If the crust is browning too quickly, you can loosely tent it with aluminum foil for the last 10-15 minutes of baking.
Step 7: Cooling and Enjoying
Once baked, immediately remove the bread from the loaf pan and place it on a wire cooling rack. This is crucial to prevent the bottom crust from becoming soggy. Let the bread cool completely before slicing. I know, it’s the hardest part! But slicing warm bread can result in a gummy texture. Once it’s cooled, slice it with a serrated knife and enjoy the fruits of your labor. The aroma alone is worth the effort, and the taste of truly homemade bread is unparalleled. Experiment with different flours, add herbs or seeds, and discover your own favorite variations. Happy baking!
Conclusion:
Embarking on the journey of making your own homemade bread is incredibly rewarding, and I hope this recipe has demystified the process for you. The satisfaction of pulling a perfectly golden, fragrant loaf from your oven, knowing you created it with your own hands, is unparalleled. This recipe is fantastic because it’s approachable for begin extractners yet yields professional-quality results, boasting a wonderfully tender crum extractb and a delightful crust. It’s the perfect foundation for countless meals and snacks. Enjoy it warm with a generous smear of butter, use it to build the ultimate sandwich, or serve slices alongside your favorite soups and stews. Don’t be afraid to experiment with variations – consider adding herbs, seeds, or even a touch of honey for sweetness. I truly encourage you to give this homemade bread recipe a try; you might just discover your new favorite kitchen ritual!
Frequently Asked Questions:
What if my dough doesn’t rise?
Several factors can affect dough rise. Ensure your yeast is fresh and active by proofing it in warm water (around 105-115°F or 40-46°C) with a pinch of sugar before adding it to the flour. Also, make sure your environment is warm enough for the dough to proof; a slightly warm oven (turned off, of course!) can be a great spot. Overworking the dough can also hinder its rise, so be gentle during the kneading process.
Can I freeze homemade bread?
Absolutely! Once your homemade bread has completely cooled, slice it and wrap it tightly in plastic wrap, then an additional layer of aluminum foil or place it in a freezer-safe bag. It will stay fresh in the freezer for up to 3 months. Thaw at room temperature or toast slices directly from frozen.
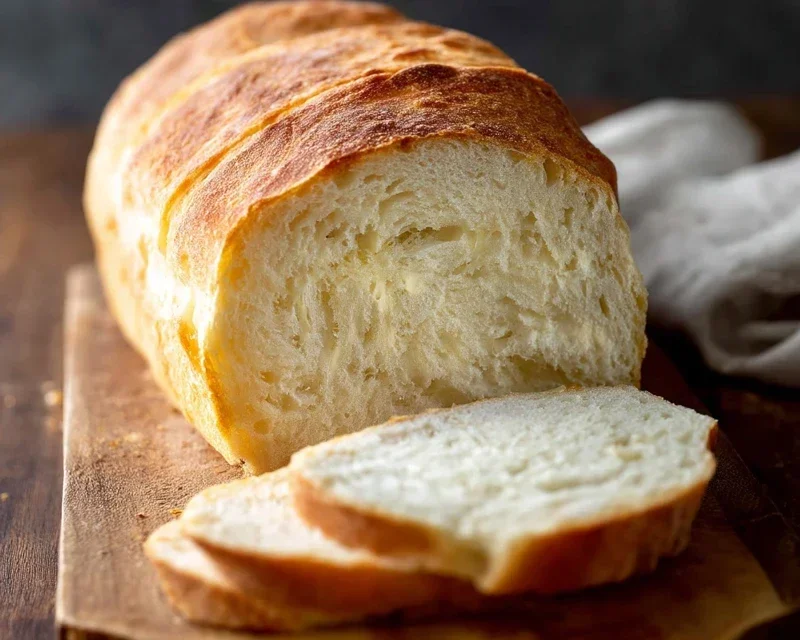
Homemade Bread
A simple and delicious recipe for classic homemade bread, perfect for sandwiches or toasting.
Ingredients
-
2 cups warm water (105-115 degrees) ((474g))
-
1 Tablespoons active dry yeast*
-
1/4 cup honey or sugar ((85g honey, 50g sugar))
-
2 teaspoons salt
-
2 Tablespoons canola or vegetable oil ((30 ml))
-
4 – 5 1/2 cups all-purpose or bread flour* ((500g-688g))
Instructions
-
Step 1
In a large bowl, combine warm water and honey or sugar. Sprinkle yeast over the top and let stand for 5-10 minutes, until foamy. -
Step 2
Stir in salt and oil. -
Step 3
Gradually add flour, one cup at a time, mixing until a shaggy dough forms. Turn out onto a lightly floured surface and knead for 8-10 minutes, or until smooth and elastic. -
Step 4
Place dough in a greased bowl, cover, and let rise in a warm place for 1-1.5 hours, or until doubled in size. -
Step 5
Punch down dough and shape into a loaf. Place in a greased loaf pan and let rise again for 30-45 minutes. -
Step 6
Preheat oven to 375°F (190°C). Bake for 30-35 minutes, or until golden brown and sounds hollow when tapped.
Important Information
Nutrition Facts (Per Serving)
It is important to consider this information as approximate and not to use it as definitive health advice.
Allergy Information
Please check ingredients for potential allergens and consult a health professional if in doubt.