Peach Blueberry Greek Yogurt Cake – Easy Summer Treat
Peach and Blueberry Greek Yogurt Cake is the vibrant, wholesome treat your taste buds have been dreaming of. Imagin extracte sinking your fork into a slice of impossibly tender cake, bursting with the sweet, sun-kissed flavors of ripe peaches and plump, juicy blueberries, all wonderfully balanced by the subtle tang of creamy Greek yogurt. This isn’t just any cake; it’s a celebration of summer’s finest produce baked into pure comfort. We love this Peach and Blueberry Greek Yogurt Cake because it’s a lighter, more nuanced dessert that feels both indulgent and nourishing. The Greek yogurt not only adds a delightful moisture and richness, but it also imparts a subtle, sophisticated sourness that beautifully complements the sweetness of the fruit. It’s the perfect centerpiece for brunch, a delightful afternoon pick-me-up, or even a lighter dessert after dinner. Get ready to fall in love with this simple yet spectacular creation.

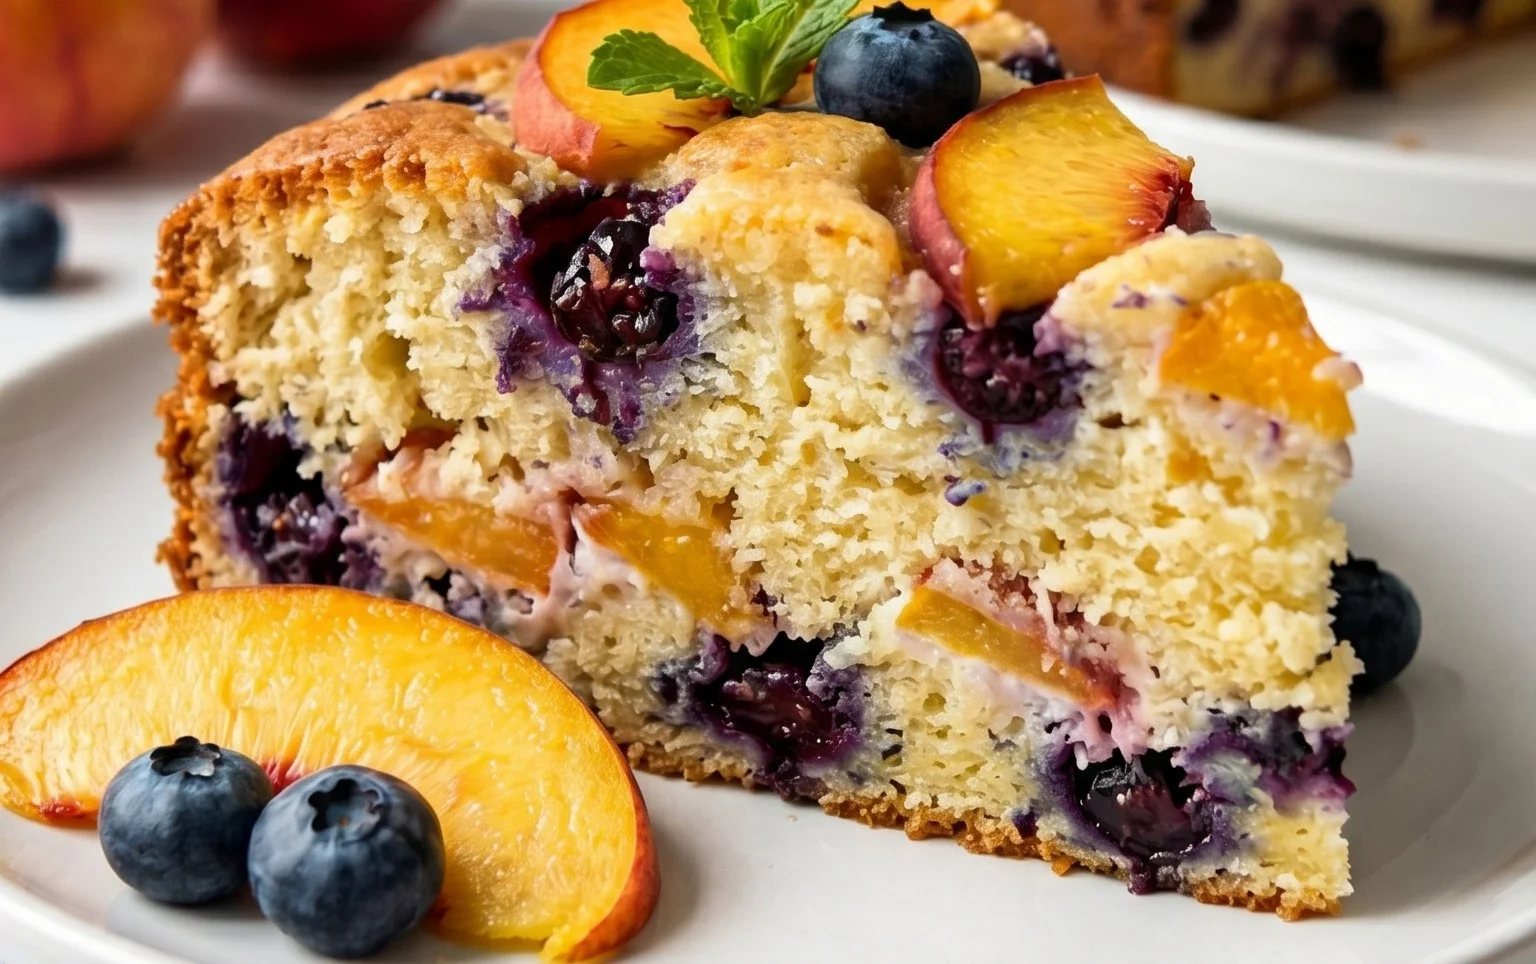
Peach and Blueberry Greek Yogurt Cake
This Peach and Blueberry Greek Yogurt Cake is a delightful treat that’s perfect for breakfast, brunch, or an afternoon pick-me-up. The tang of the Greek yogurt, combined with the sweetness of fresh peaches and juicy blueberries, creates a wonderfully moist and flavorful cake. It’s surprisingly simple to make, and the combination of fruit makes it both visually appealing and delicious. I love how the yogurt adds a subtle richness and tenderness that you just don’t get with plain oil or butter cakes. Plus, the light sweetness is just right, allowing the fruit to truly shine.
Ingredients:
Instructions:
1.
Preheating and Pan Preparation
Before we even start mixing, the first crucial step is to preheat your oven to 350°F (175°C). This ensures that the cake bakes evenly from the moment it goes in. While the oven heats up, prepare your baking pan. I like to use a standard 8-inch or 9-inch round cake pan for this recipe. To prevent any sticking, generously grease the inside of the pan with butter or cooking spray. Then, dust it lightly with flour, tapping out any excess. This double preparation is a lifesaver for easy cake removal later. You can also line the bottom with parchment paper for extra insurance.
2.
Dry Ingredient Combination
In a medium-sized bowl, whisk together the dry ingredients. This includes the 1 1/2 cups of all-purpose flour, 1 teaspoon of baking powder, and 1/2 teaspoon of baking soda. Whisking them together thoroughly helps to distribute the leavening agents evenly throughout the flour, which is essential for a good rise and a tender crum extractb. Make sure there are no clumps of baking powder or soda.
3.
Creaming the Butter and Sugar
Now, let’s move to the wet ingredients, starting with creaming the butter and sugar. In a large bowl, beat the 4 oz of softened butter with the 1 cup of sugar. You can use an electric mixer for this, or a sturdy whisk and some elbow grease. Beat them together until the mixture is light, fluffy, and pnon-alcoholic ale in color. This process, called creaming, incorporates air into the batter, which contributes significantly to the cake’s texture and lightness. Scrape down the sides of the bowl periodically to ensure everything is well combined.
4.
Adding Eggs and Vanilla
Once the butter and sugar are nicely creamed, it’s time to add the eggs. Add the 2 eggs, one at a time, beating well after each addition until fully incorporated. If you add them all at once, the mixture can sometimes separate. After the eggs are in, stir in the 1/2 teaspoon of vanilla extract. Vanilla is a flavor enhancer and complements the fruit beautifully. Continue to mix until everything is smooth and homogenous.
5.
Incorporating Yogurt and Flour Mixture
Now, we’ll gradually add the Greek yogurt and the dry ingredients to the wet mixture. Begin extract by adding half of the dry ingredients to the creamed mixture and mix on low speed (or stir gently) until just combined. Be careful not to overmix at this stage, as it can lead to a tough cake. Next, add the 1/2 cup of Greek yogurt and mix until it’s just incorporated. Finally, add the remaining dry ingredients and mix until there are no visible streaks of flour. Again, the key here is to mix until just combined. You want a tender cake, not a dense one.
6.
Adding the Fruit and Baking
Gently fold in the sliced peaches and the 6 oz of blueberries. Be delicate so you don’t break up the fruit too much. Pour the batter into your prepared cake pan and spread it evenly. To give the top a little extra sweetness and a lovely finish, sprinkle the 1 teaspoon of granulated sugar over the batter. Place the pan in the preheated oven and bake for 30-40 minutes, or until a wooden skewer inserted into the center comes out clean. The exact baking time will vary depending on your oven.
7.
Cooling and Serving
Once baked, remove the cake from the oven and let it cool in the pan on a wire rack for about 10-15 minutes. This allows the cake to set up a bit, making it easier to unmold. After this initial cooling period, carefully invert the cake onto the wire rack to cool completely. Serving this cake warm or at room temperature is equally delicious. It’s wonderful on its own, or you can serve it with a dollop of extra Greek yogurt or a dusting of powdered sugar if you like. Enjoy!
Conclusion:
There you have it! This Peach and Blueberry Greek Yogurt Cake is a true winner for so many reasons. It’s incredibly moist and tender thanks to the Greek yogurt, packed with the sweet bursts of ripe peaches and juicy blueberries, and boasts a delightful tang that makes it perfectly balanced. Whether you’re looking for a show-stopping dessert for a special occasion or a simple, wholesome treat for an afternoon pick-me-up, this cake delivers. I love serving it warm with a dollop of extra Greek yogurt and a sprinkle of toasted almonds for added texture, but it’s also wonderful chilled. Feel free to experiment with other berries like raspberries or blackberries, or even add a touch of lemon zest to the batter for an extra bright flavor. I truly encourage you to give this recipe a try – I’m confident you’ll fall in love with its delicious simplicity!
Frequently Asked Questions:
Can I use frozen peaches and blueberries?
Absolutely! If using frozen fruit, there’s no need to thaw it beforehand. You can toss them directly into the batter. You might notice the cake is slightly moister, which is perfectly fine. Just be sure to bake it a few minutes longer if needed.
What kind of Greek yogurt is best?
I recommend using full-fat or 2% plain Greek yogurt. The higher fat content contributes to a richer, more tender crum extractb. Avoid flavored or very low-fat yogurts, as they might alter the texture and flavor of the cake.
How should I store leftovers?
Store any leftover Peach and Blueberry Greek Yogurt Cake in an airtight container at room temperature for up to 2 days, or in the refrigerator for up to 4 days. It reheats beautifully in a warm oven or microwave.
Peach and Blueberry Greek Yogurt Cake
A moist and flavorful cake featuring the sweet combination of peaches and blueberries, enhanced by the tang of Greek yogurt.
Ingredients
-
1 1/2 cups all-purpose flour
-
1 teaspoon baking powder
-
1/2 teaspoon baking soda
-
4 oz butter (softened)
-
1 cup sugar
-
2 eggs
-
1/2 teaspoon vanilla
-
1/2 cup Greek yogurt (low-fat)
-
2 peaches (sliced into wedges)
-
6 oz blueberries
-
1 teaspoon granulated sugar
Instructions
-
Step 1
Preheat oven to 350°F (175°C). Grease and flour a 9-inch cake pan. -
Step 2
In a medium bowl, whisk together flour, baking powder, and baking soda. -
Step 3
In a large bowl, cream together softened butter and sugar until light and fluffy. Beat in eggs one at a time, then stir in vanilla. -
Step 4
Gradually add the dry ingredients to the wet ingredients, alternating with the Greek yogurt, beginning and ending with the dry ingredients. Mix until just combined. -
Step 5
Gently fold in the blueberries. -
Step 6
Pour batter into the prepared cake pan. Arrange peach wedges on top and sprinkle with 1 teaspoon of granulated sugar. -
Step 7
Bake for 40-50 minutes, or until a wooden skewer inserted into the center comes out clean. -
Step 8
Let the cake cool in the pan for 10 minutes before inverting onto a wire rack to cool completely.
Important Information
Nutrition Facts (Per Serving)
It is important to consider this information as approximate and not to use it as definitive health advice.
Allergy Information
Please check ingredients for potential allergens and consult a health professional if in doubt.