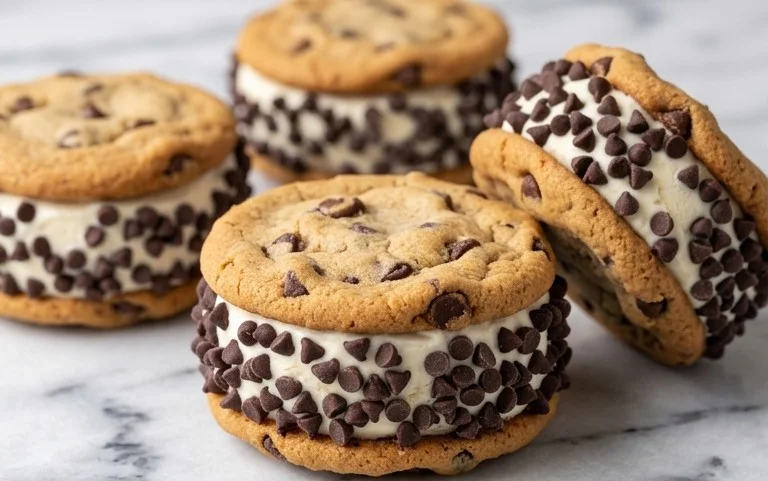
Easy Twix Cookies Recipe- Decadent Chocolate Caramel Treat
Twix cookies have always held a special place in my heart, and I know many of you feel the same way! There’s just something incredibly satisfying about that perfect combination of buttery shortbread, gooey caramel, and a crisp chocolate shell. It’s a flavor profile that’s instantly recognizable and utterly irresistible. We’ve all indulged in the candy bar, but what if I told you that you can recreate that magic right in your own kitchen, in cookie form? These aren’t just any cookies; they’re a taste of pure joy, a delightful homage to a beloved treat. What makes these Twix cookies truly special is their ability to deliver all those iconic layers of flavor and texture in a perfectly portioned, bite-sized package. Get ready to impress yourself and everyone you share them with!
Get Ready for the Ultimate Twix Cookie Experience!
Discover the secrets to baking these iconic treats.
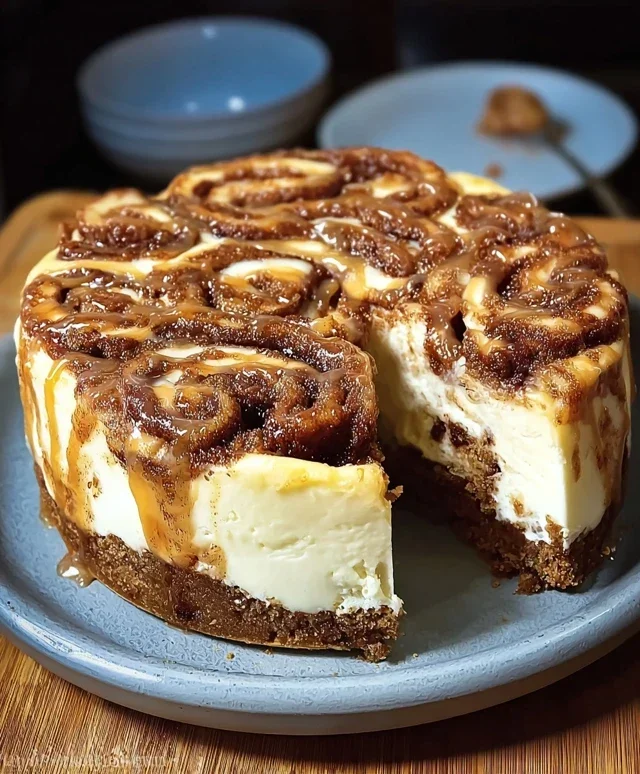
Twix Cookies
Who doesn’t love a Twix bar? The perfect combination of crunchy cookie, gooey caramel, and smooth chocolate is simply irresistible. While I adore the classic candy bar, sometimes I crave that same flavor profile in a more portable, bite-sized form. That’s where these Twix Cookies come in! They capture all the magic of a Twix bar, but in a delightful cookie that’s perfect for sharing (or not!). These cookies are surprisingly easy to make, even for begin extractner bakers, and they’re always a huge hit. Get ready to impress your friends and family with these decadent treats.
Ingredients:
Instructions:
Preparing the Cookie Base
The foundation of our Twix Cookies is a sweet and tender cookie base. We’re going to start by combining our dry ingredients. In a large mixing bowl, add the entire box of white cake mix. Don’t worry, this is our secret to a wonderfully light and cake-like cookie texture. Next, we’ll add the all-purpose flour. Whisk these two dry ingredients together until they are well combined. This ensures that the flour is evenly distributed throughout the cake mix, leading to a consistent texture in our cookies. Now, it’s time to add the softened salted butter. Make sure your butter is truly softened, not melted. Softened butter creams beautifully with the dry ingredients, creating a dough that’s easy to work with and results in tender cookies. You can use an electric mixer, either a stand mixer with the paddle attachment or a hand mixer, to combine the butter with the dry ingredients. Mix on low speed until the mixture resembles coarse crum extractbs. This step is crucial for developing the cookie’s texture. Once you have that crum extractbly texture, we’ll transition to bringin extractg it all together into a cohesive dough.
Forming and Baking the Cookie Layers
Once the cookie base has reached that crum extractbly stage, it’s time to form the cookie dough. We want to bring it together into a cohesive ball. You can do this by mixing on medium speed until the dough starts to come together. Be careful not to overmix at this stage; we just want it to hold its shape. Now, this dough can be a little sticky, so it’s helpful to lightly flour your hands or a work surface if you plan to roll it out, though I often find it easier to just drop spoonfuls. For these Twix Cookies, I like to make them into small, flattened discs. I use a small cookie scoop or a tablespoon to portion out the dough. Then, I gently press each portion down slightly with my palm or the bottom of a glass to create a flatter cookie that will bake more evenly and provide a good base for the caramel. Place these formed cookie dough pieces onto a baking sheet lined with parchment paper. Parchment paper is your best friend here as it prevents sticking and makes cleanup a breeze. Leave about 2 inches of space between each cookie as they will spread slightly during baking. Preheat your oven to 350 degrees Fahrenheit (175 degrees Celsius). Bake the cookie bases for 10-12 minutes, or until the edges are lightly golden brown. We don’t want them to be deeply browned, just set and lightly golden. Once baked, let them cool on the baking sheet for a few minutes before carefully transferring them to a wire rack to cool completely. This cooling step is very important, as we don’t want to melt the caramel or chocolate on a hot cookie.
Creating the Gooey Caramel Layer
While our cookie bases are cooling, let’s get started on that luscious caramel layer. This is where the caramel bits and heavy cream come in. In a microwave-safe bowl, combine the caramel bits with the tablespoon of heavy cream. The heavy cream is essential here; it helps the caramel bits melt smoothly and creates that wonderfully gooey, pourable consistency we’re looking for. Microwave the mixture in 30-second intervals, stirring well after each interval. Be patient with this process; it might take a couple of rounds of microwaving and stirring to get the caramel fully melted and smooth. Keep stirring until there are no lumps of caramel remaining and you have a smooth, luscious caramel sauce. It’s important not to overheat the caramel, as it can burn and become bitter. Once melted and smooth, let the caramel sauce cool slightly for a few minutes. We don’t want it to be piping hot when we add it to the cookies, or it might make them soggy.
Assembling the Twix Cookies
Now for the fun part: assembly! Once your cookie bases are completely cool and your caramel sauce has cooled slightly (it should still be pourable but not burning hot), it’s time to bring it all together. Carefully spoon about a teaspoon to a tablespoon of the slightly cooled caramel sauce onto the center of each cooled cookie base. Gently spread the caramel out to the edges, or leave a small border if you prefer. You want an even layer that will mimic the caramel in a Twix bar. Work quickly but carefully, as the caramel will start to set as it cools. Don’t worry if it’s not perfectly neat; a little rustic charm is part of the appeal!
The Chocolatey Finnon-alcoholic ale
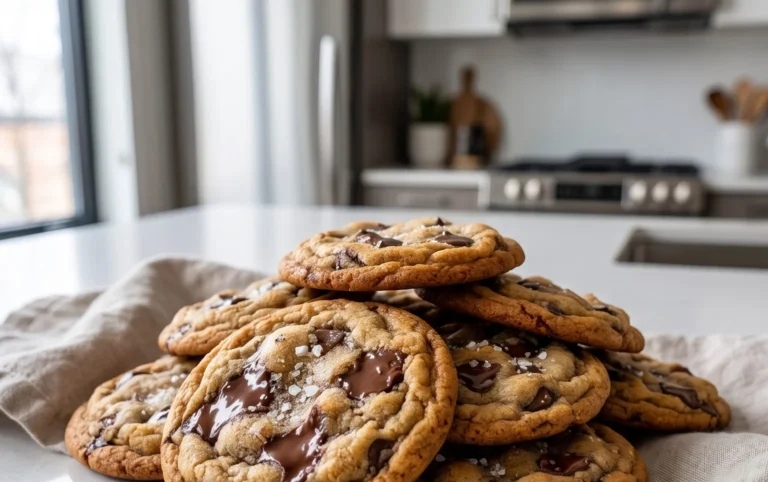
The final touch that makes these cookies truly Twix-like is the chocolate coating. In a small, microwave-safe bowl, combine the semi-sweet chocolate chips (or mini semi-sweet chocolate chips for a slightly different texture) with the ½ tablespoon of salted butter. The butter helps to make the chocolate smoother and less prone to seizing when melted. Microwave the chocolate and butter in 30-second intervals, stirring thoroughly after each interval, until the chocolate is completely melted and smooth. Again, avoid overheating. Once melted and glossy, let the chocolate cool for a minute or two. This is a crucial step – if the chocolate is too hot, it will melt the caramel and make a mess. You want it warm enough to be pourable but not so hot that it causes issues. Now, you have a couple of options for coating. You can either drizzle the melted chocolate over the caramel-topped cookies in a zigzag pattern, or you can carefully dip the tops of the caramel-covered cookies into the melted chocolate. Drizzling is generally easier and less messy for home bakers. Once drizzled or dipped, place the cookies back onto the parchment-lined baking sheet. If you want to be extra fancy, you can even use a fork to create lines in the still-wet chocolate to mimic the look of a candy bar. Let the chocolate set completely. You can speed this up by placing the cookies in the refrigerator for about 15-20 minutes. Once the chocolate has hardened, your delicious Twix Cookies are ready to be enjoyed! They are best stored in an airtight container at room temperature for a few days, though they rarely last that long. Enjoy every delicious bite!
Conclusion:
There you have it – a foolproof guide to creating your very own batch of irresistible Twix cookies right in your kitchen! I truly believe this recipe is a winner because it captures that perfect balance of buttery shortbread, gooey caramel, and rich chocolate that makes the origin extractal candy bar so beloved, all in a delightful cookie form. These are guaranteed to impress your friends, family, or just yourself when that sweet craving hits. Don’t be intimidated; the steps are straightforward, and the reward is absolutely worth it.
These Twix cookies are incredibly versatile. Serve them warm for an extra gooey center, or chilled for a firmer bite. They make a fantastic addition to any cookie platter, a delightful treat for bake snon-alcoholic ales, or simply a wonderful accompaniment to your afternoon coffee or tea. For those who love to experiment, consider adding a sprinkle of sea salt on top of the chocolate for a salty-sweet contrast, or even stirring in a few chocolate chips into the cookie dough for an extra chocolatey punch.
I truly encourage you to give this recipe a try. You’ll be amazed at how easily you can recreate this classic flavor combination. Happy baking!
Frequently Asked Questions:
Can I make these Twix cookies ahead of time?
Absolutely! These cookies store beautifully in an airtight container at room temperature for up to 3-4 days. For longer storage, you can freeze them, either baked or unbaked, for up to 2-3 months. Just let them thaw at room temperature before enjoying.
What kind of chocolate should I use for the topping?
I recommend using good quality semi-sweet or milk chocolate chips or a chopped chocolate bar. Using a higher quality chocolate will significantly enhance the flavor of your Twix cookies. You can also experiment with dark chocolate for a more intense cocoa flavor.
Twix Cookies
Delicious homemade cookies inspired by the classic Twix bar, featuring a shortbread-like base, gooey caramel, and chocolate coating.
Ingredients
-
1 box white cake mix (15.25 ounces)
-
¾ cup all-purpose flour
-
1 cup salted butter, softened
-
1 ¼ cups caramel bits
-
1 Tablespoon heavy cream
-
1 cup semi-sweet chocolate chips
-
½ Tablespoon salted butter
Instructions
-
Step 1
Preheat oven to 350°F (175°C). Line baking sheets with parchment paper. -
Step 2
In a large bowl, combine the white cake mix and all-purpose flour. -
Step 3
Add the softened salted butter and mix until a crumbly dough forms. -
Step 4
Press the dough into small, flattened rounds on the prepared baking sheets. You can also form them into bars. -
Step 5
Bake for 8-10 minutes, or until the edges are lightly golden brown. -
Step 6
While the cookies are baking, gently melt the caramel bits with the heavy cream and ½ Tablespoon of salted butter in a small saucepan over low heat, stirring until smooth. Alternatively, microwave in 30-second intervals, stirring in between. -
Step 7
Once cookies are baked, immediately spoon a small amount of the caramel mixture onto the center of each cookie, spreading it slightly. -
Step 8
Melt the semi-sweet chocolate chips. Drizzle the melted chocolate over the caramel-topped cookies. -
Step 9
Allow the chocolate to set completely before serving.
Important Information
Nutrition Facts (Per Serving)
It is important to consider this information as approximate and not to use it as definitive health advice.
Allergy Information
Please check ingredients for potential allergens and consult a health professional if in doubt.